My STEM Projects
Hands-on learning through electronics, programming, and problem-solving
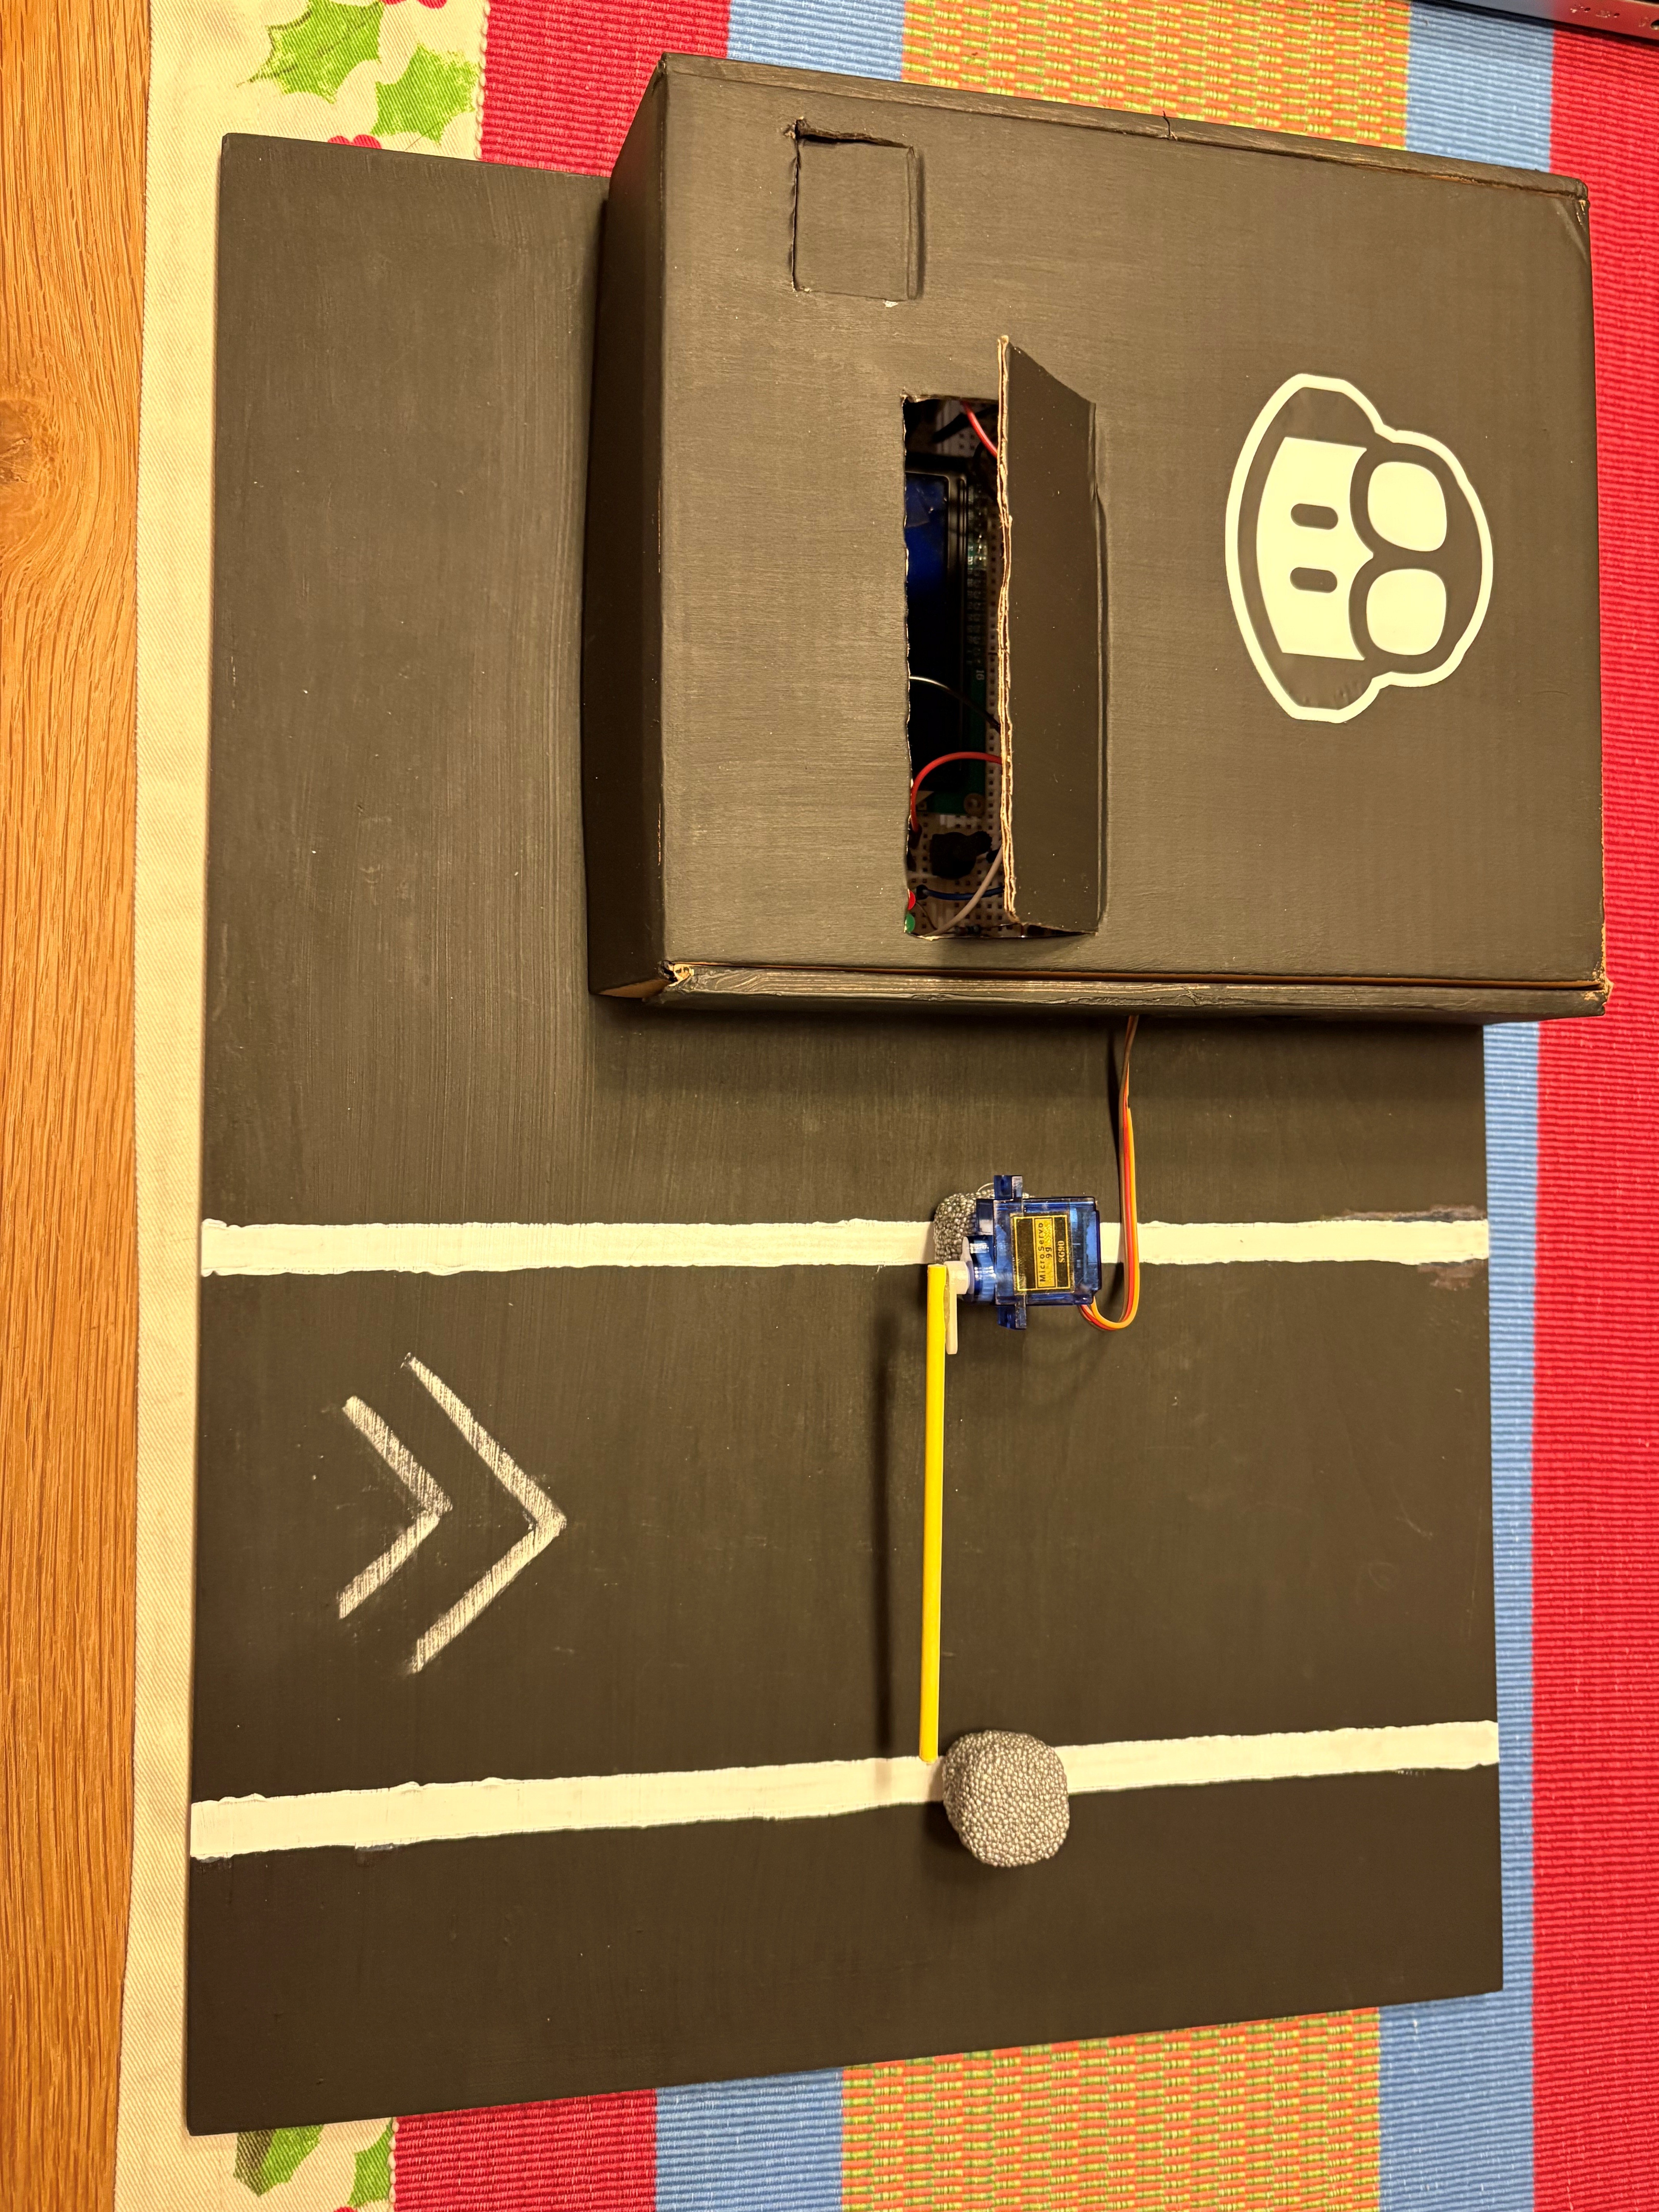
Featured Project: RFID Access Control Gate
Automated Gate with RFID Authentication
My most comprehensive project to date—an RFID-controlled gate system that automatically opens for authorized users and denies access to unauthorized cards. This project combines multiple technologies:
- RFID (Radio-Frequency Identification) reader technology
- Arduino microcontroller programming in C++
- Servo motor control for physical gate movement
- LCD display for user feedback
- LED indicators and buzzer for audio/visual confirmation
Inspiration: Filipino RFID toll gates (EasyTrip system) that I observed during family travels, where vehicles pass through automated barriers using contactless RFID tags.
How It Works
The system continuously scans for RFID cards. When a card is presented:
- Card Detection: RFID reader (RC522 module) detects card within approximately 5cm range
- ID Reading: Arduino reads the card's unique identifier (UID)
- Authorization Check: Program compares scanned UID against stored authorized IDs
- Access Decision:
- If Authorized: Green LED lights up, success beep sounds, LCD displays "Access Granted!", servo motor opens gate to 90 degrees, waits 3 seconds, then closes gate
- If Unauthorized: Red LED lights up, error buzz sounds, LCD displays "Access Denied!" with card ID, gate remains closed
System Demonstration
Watch the final demonstration of the complete RFID gate system in operation
Technical Components
| Component | Function | Learning Outcome |
|---|---|---|
| Arduino Uno R3 | Microcontroller that processes RFID data and controls all outputs | C++ programming, digital I/O, libraries |
| RC522 RFID Reader | Reads 13.56MHz RFID cards using NFC technology | SPI communication protocol, wireless data transfer |
| RFID Cards/Tags | Each has unique ID for user identification | Understanding passive RFID technology |
| SG90 Servo Motor | Controls gate barrier arm movement (0° to 90°) | PWM signals, mechanical control |
| 16x2 LCD Display | Shows status messages and user feedback | Parallel communication, user interface design |
| LEDs (Red/Green) | Visual feedback for access granted/denied | Digital output, current limiting with resistors |
| Active Buzzer | Audio feedback with different tones | Tone generation, frequency control |
Build Process Overview
1. Planning & Component Selection
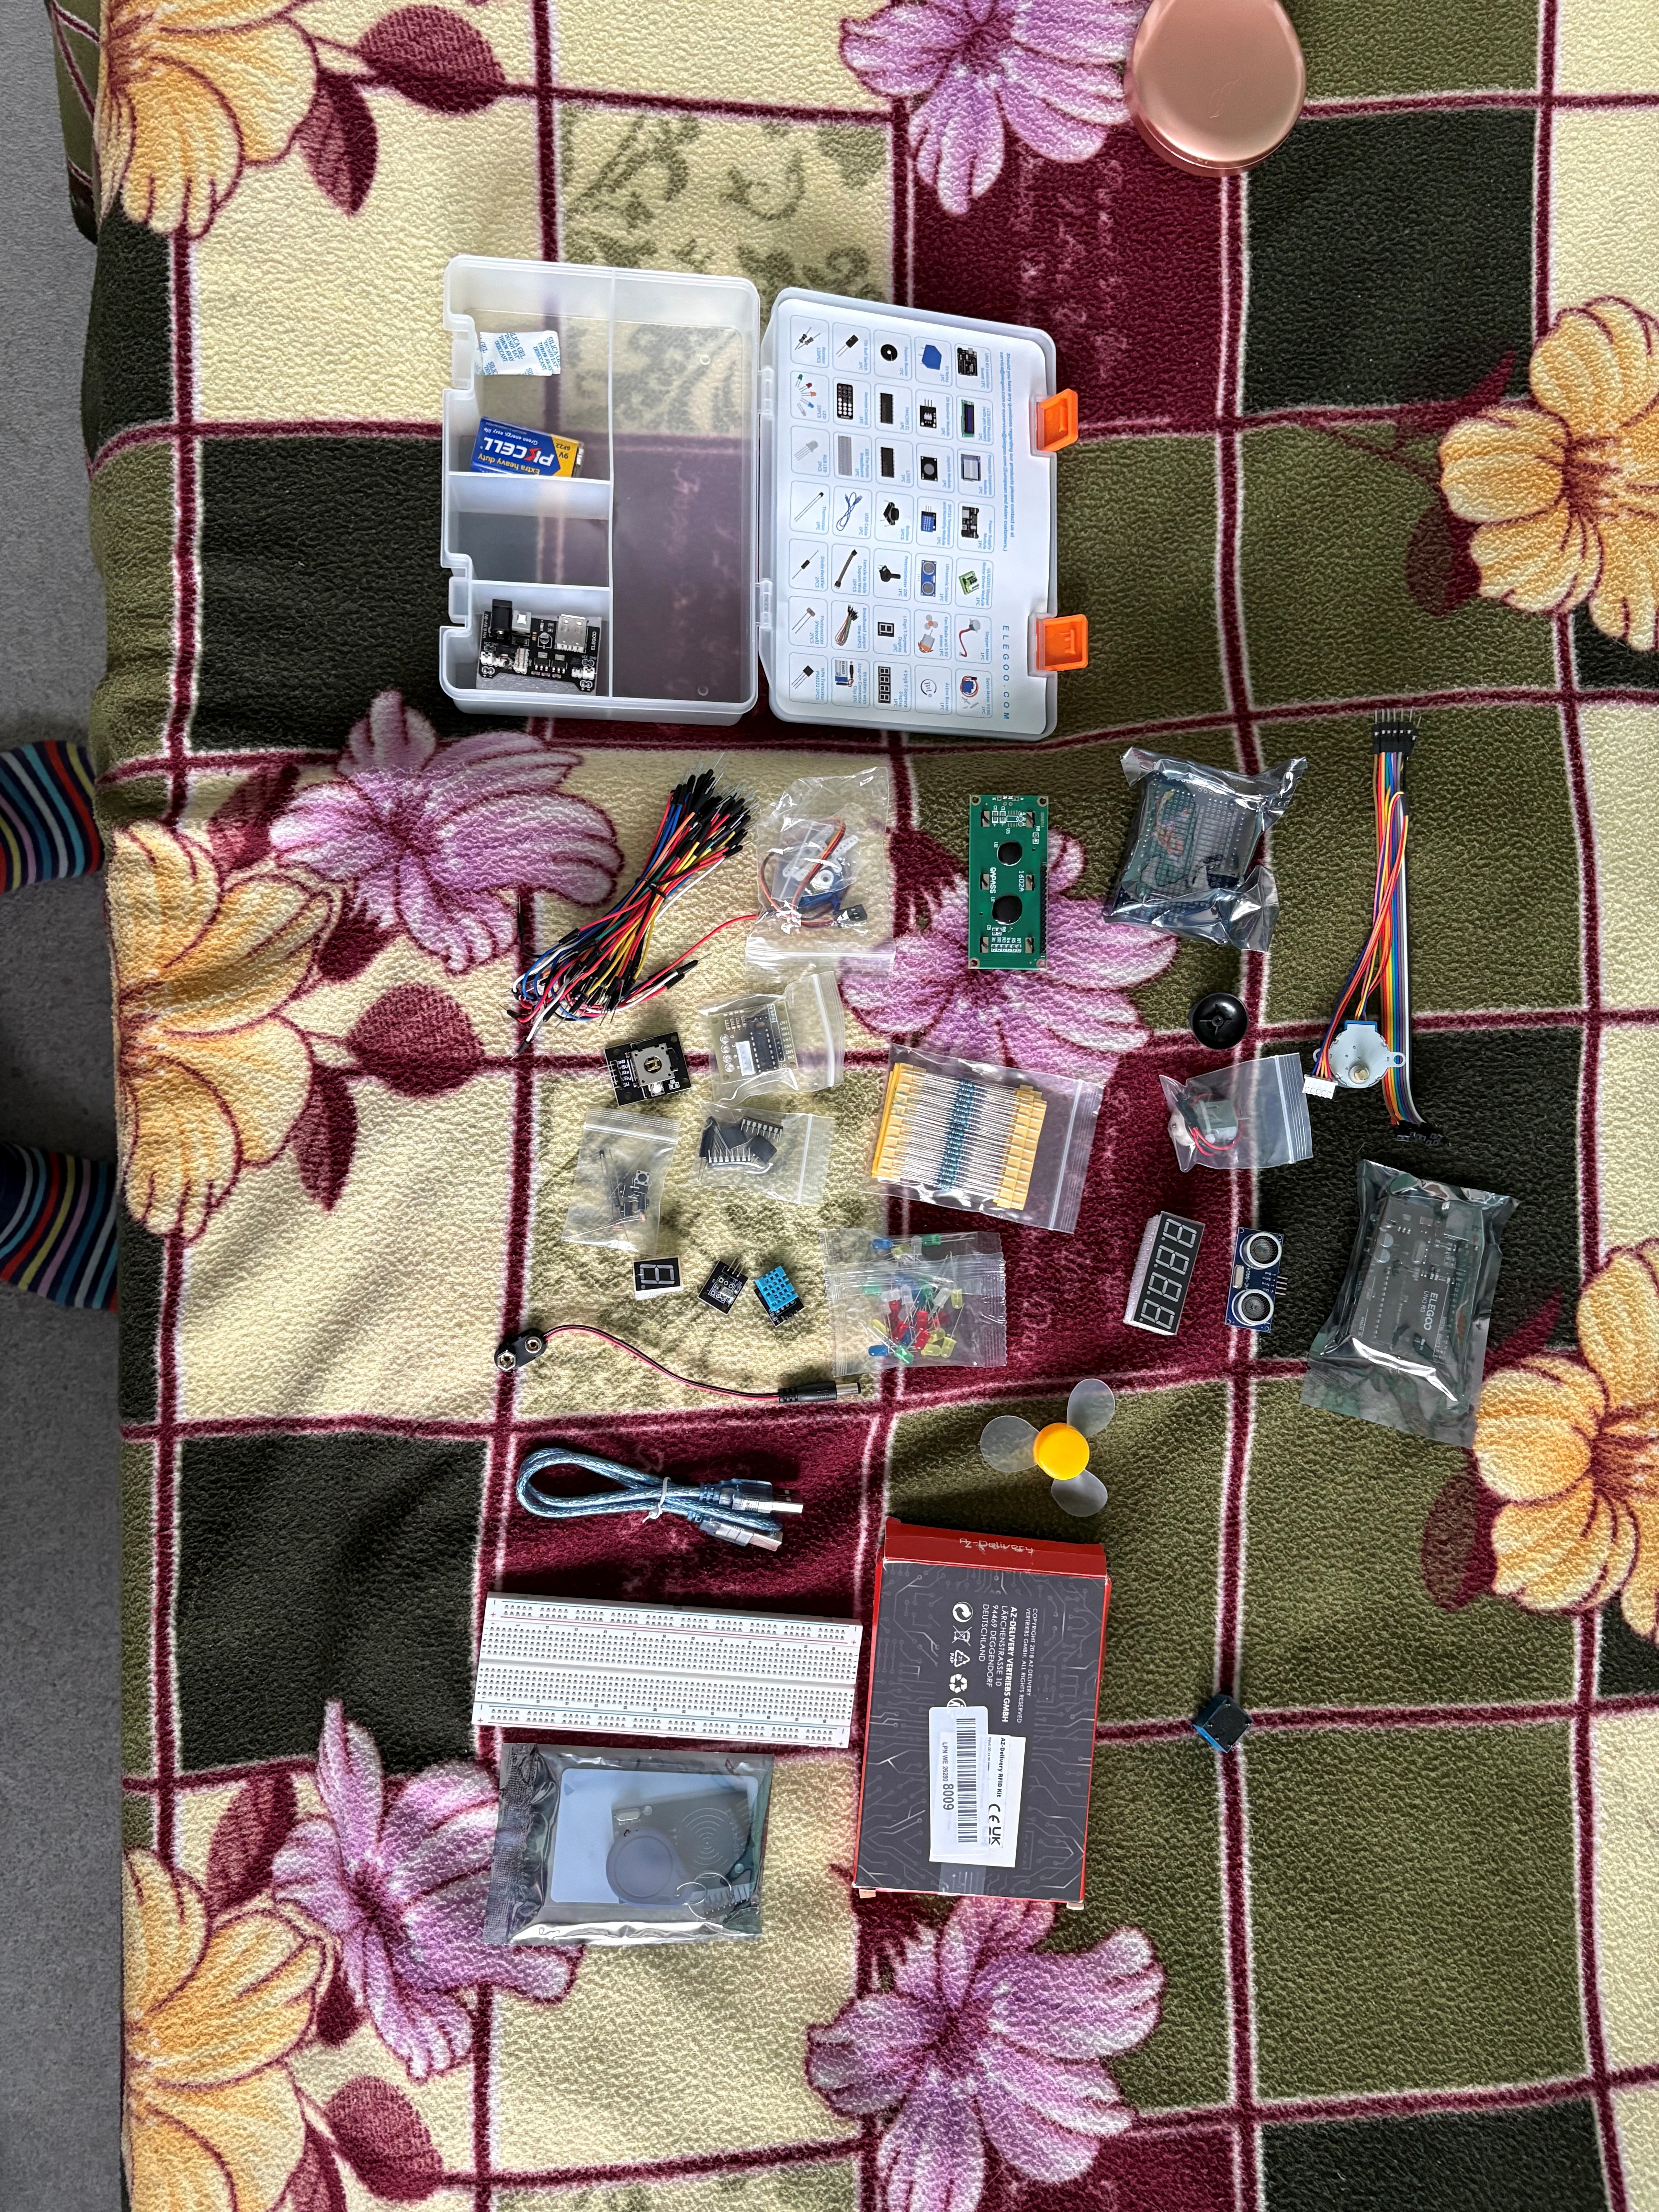
Started with the ELEGOO Arduino starter kit and purchased additional RFID module. Researched how RFID systems work and planned the circuit connections.
2. Breadboard Prototyping
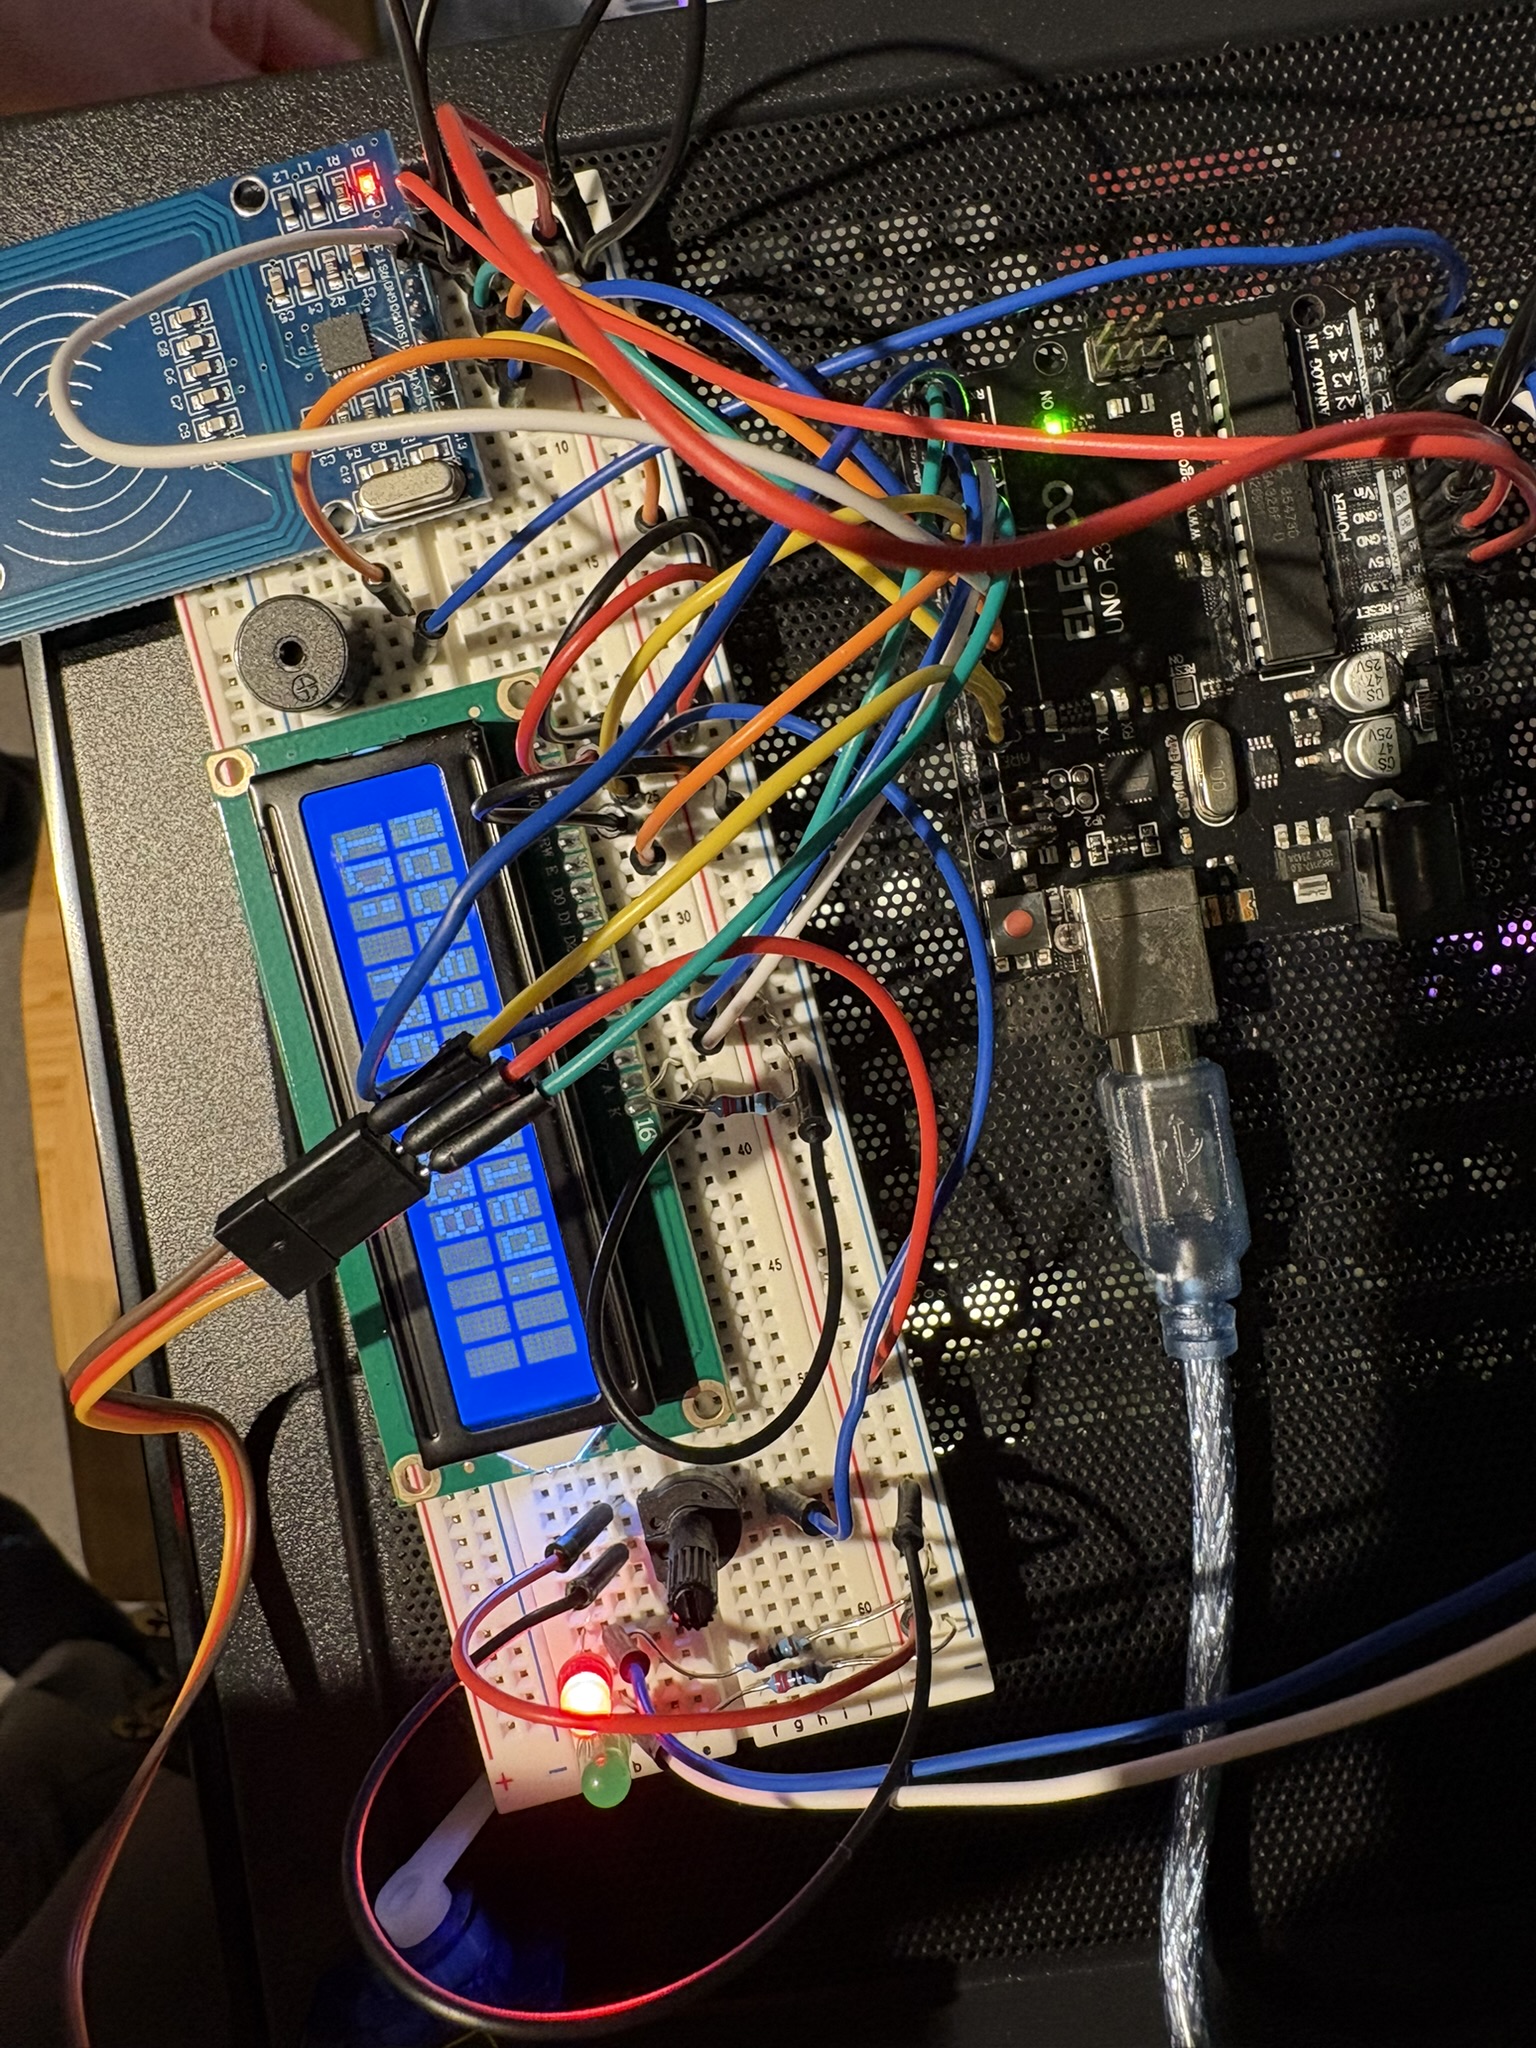
Built and tested the circuit on a breadboard using colorful jumper wires to keep track of connections. This allowed me to fix mistakes before permanent soldering.
3. Programming & Testing
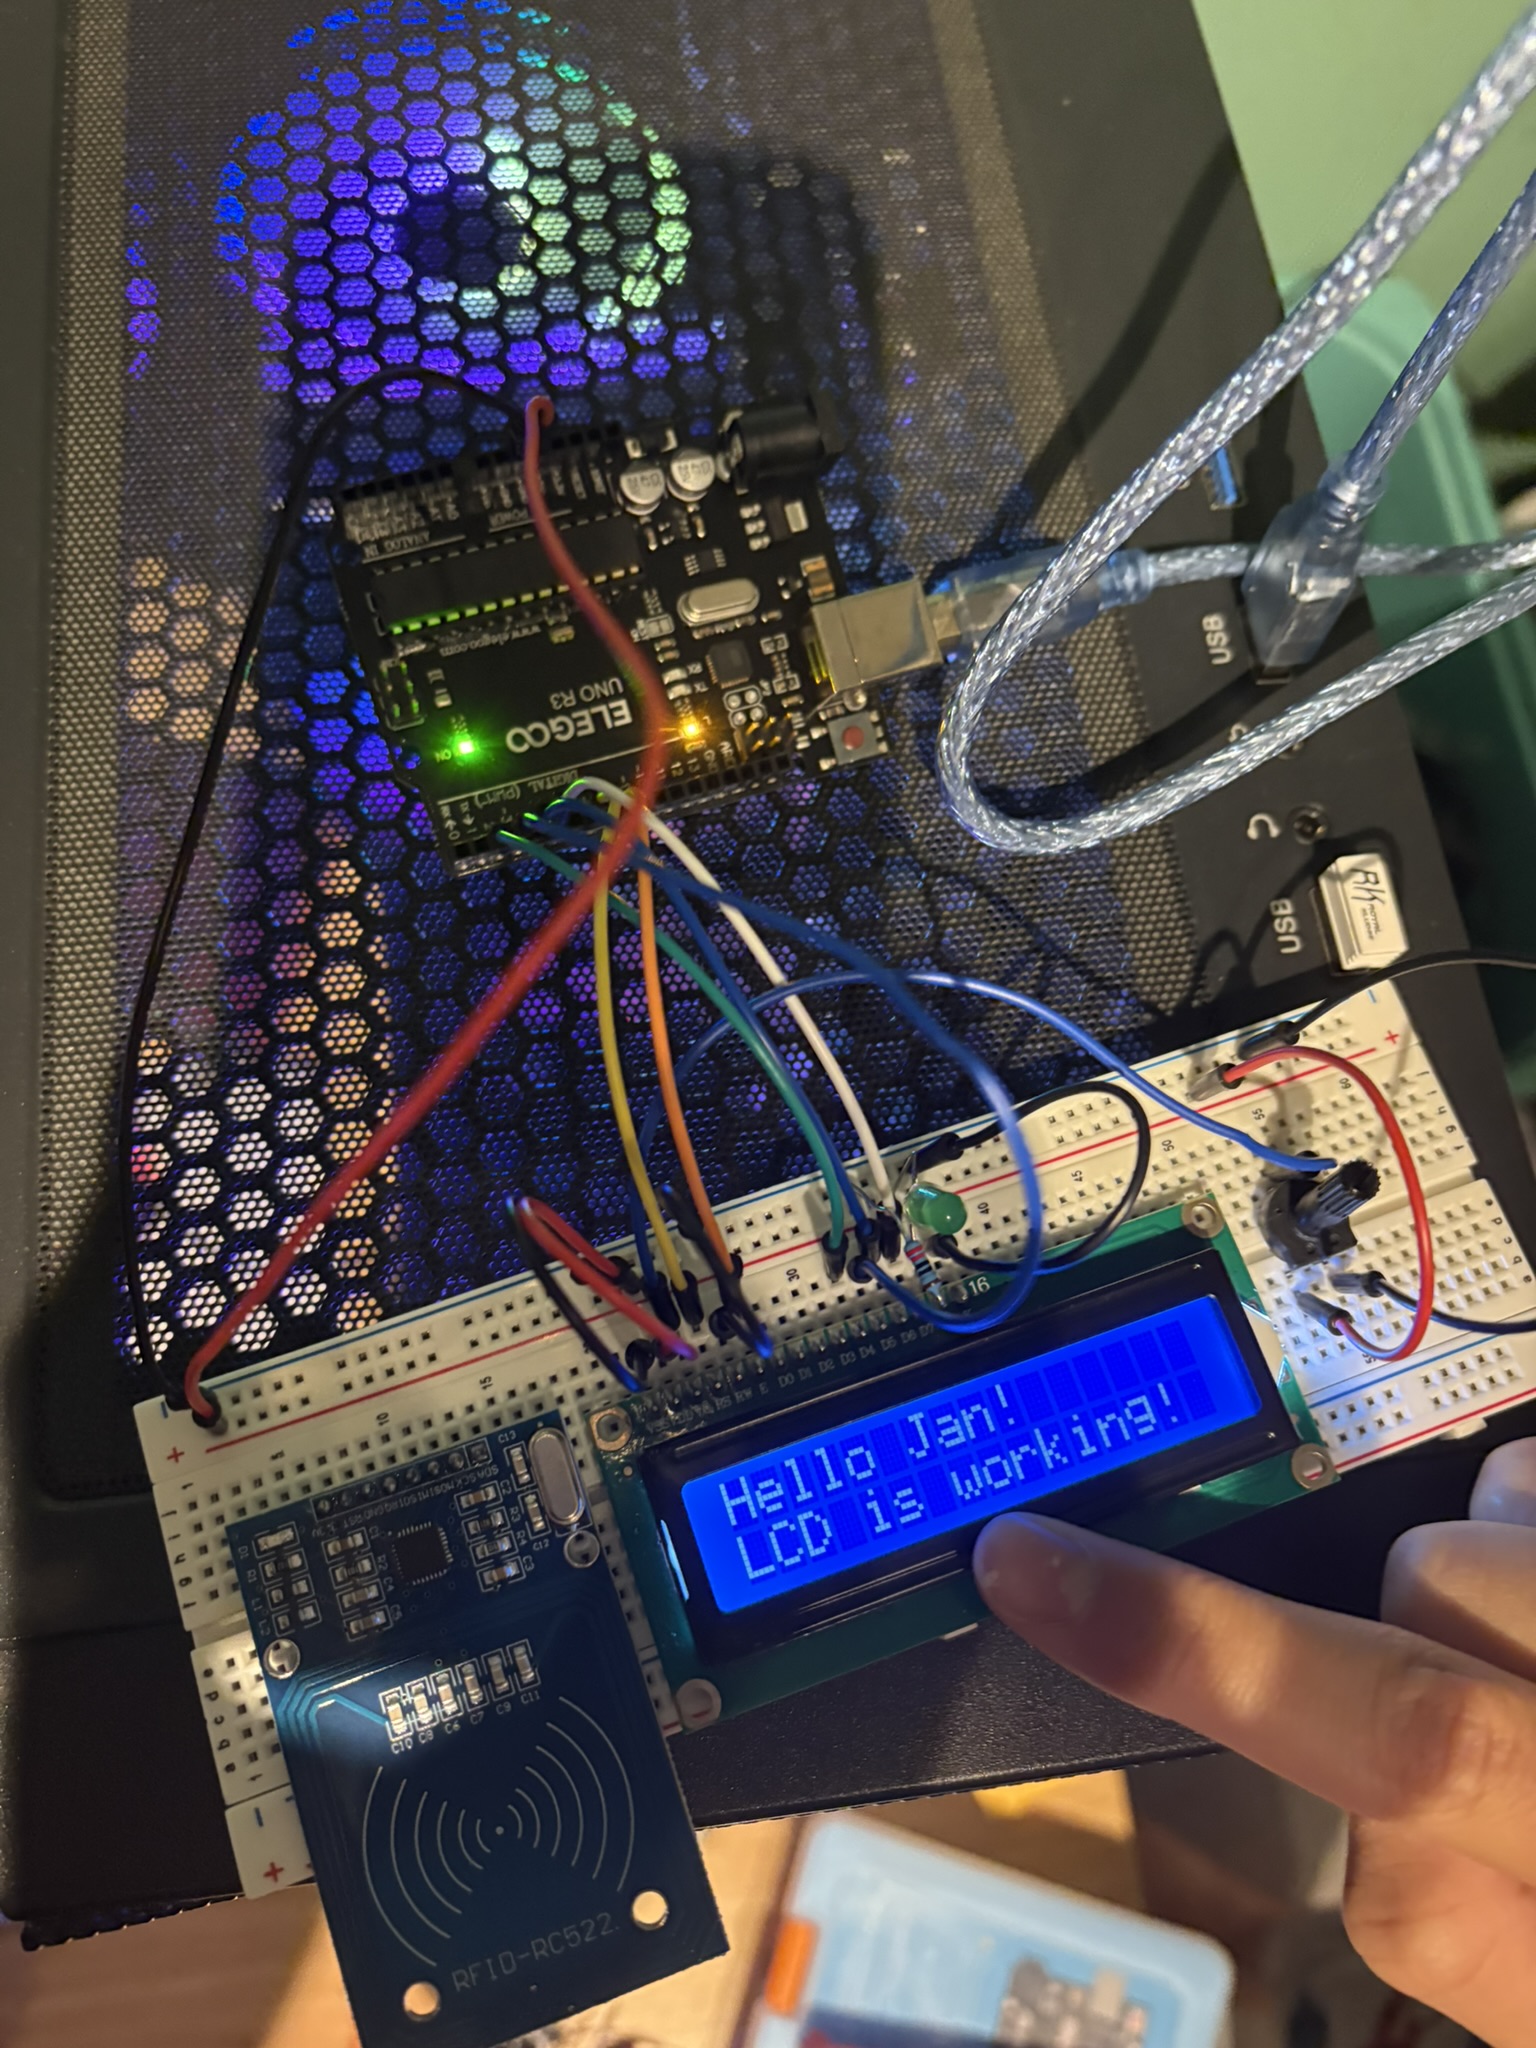
Wrote Arduino code to read RFID cards, compare IDs, and control outputs. Tested each component individually before integration.
4. Soldering & Final Assembly
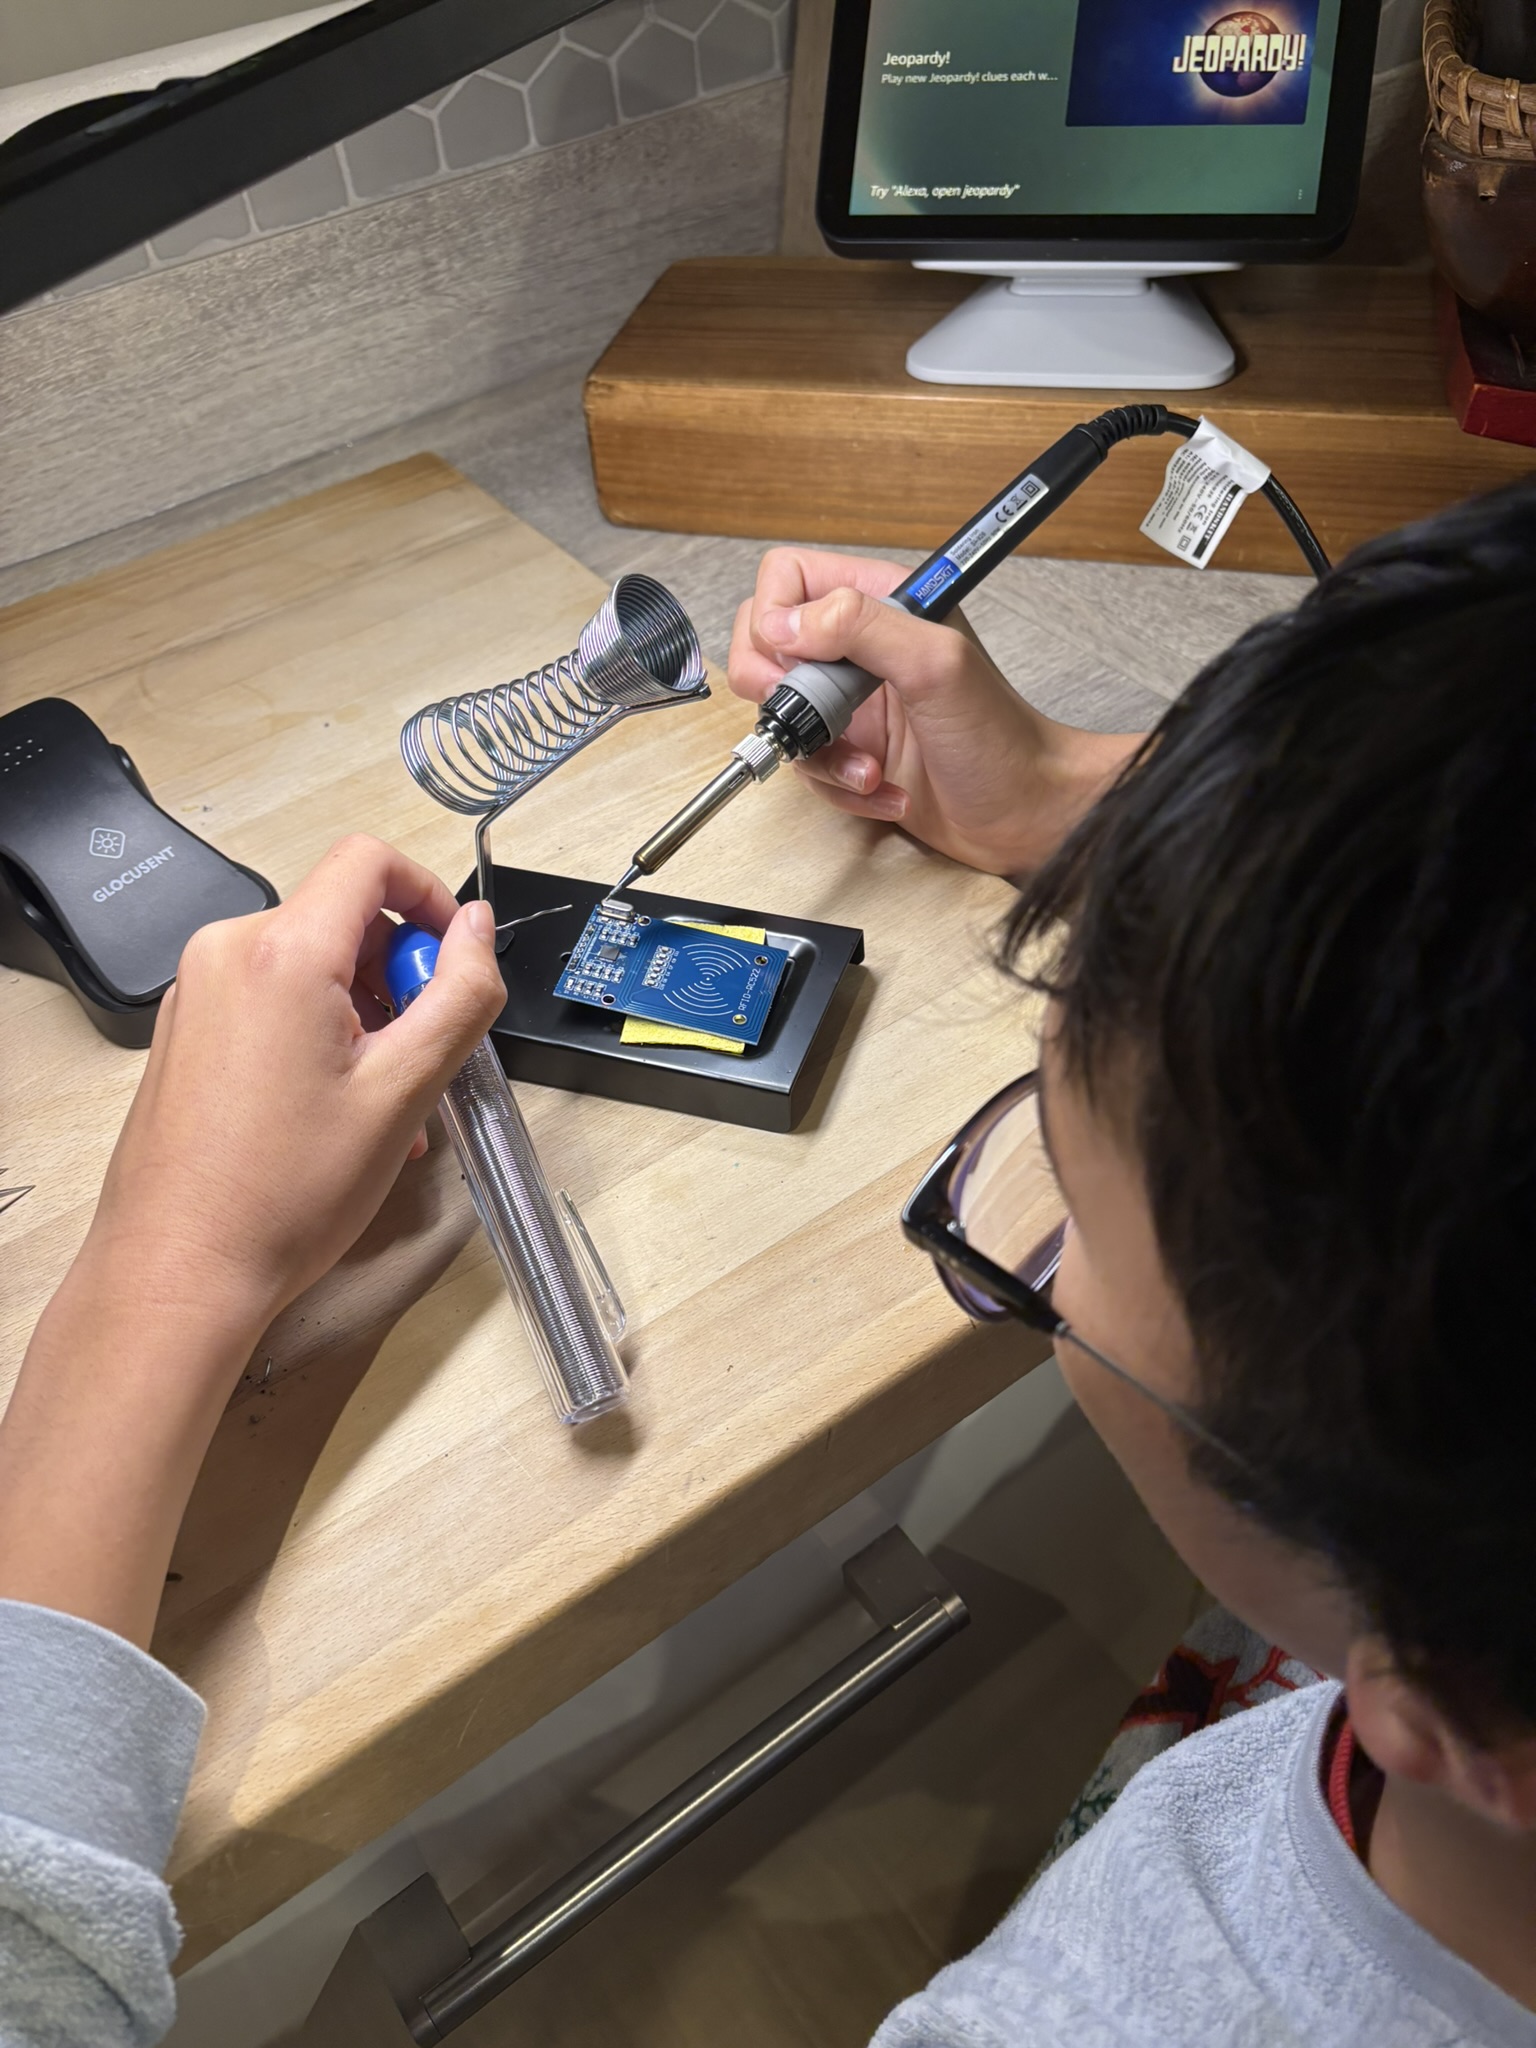
Created permanent connections through soldering for a more reliable final product.
Skills Developed Through Projects
Programming
- C++ in Arduino IDE
- Working with libraries
- Debugging with Serial Monitor
- Conditional logic and functions
Electronics
- Circuit design and breadboarding
- RFID/NFC technology
- SPI and parallel communication
- Soldering techniques
Engineering
- System integration
- Problem-solving approach
- Mechanical design
- User experience design
Project Management
- Component research
- Step-by-step planning
- Documentation with photos/videos
- Testing and iteration
Future Project Ideas
Building on what I've learned, I'm interested in exploring:
- IoT Integration: Adding WiFi capability to send notifications when gate is accessed
- Data Logging: Recording access attempts with timestamps to SD card
- Solar-Powered Systems: Making projects portable with renewable energy
- Sensor Networks: Multiple sensors working together for home automation
- Robotics: Combining motors, sensors, and autonomous navigation
- Environmental Monitoring: Weather stations with temperature, humidity, pressure sensors
Why STEM Projects Matter to Me
These projects aren't just about building things—they're about understanding how the world works. When I see automated systems in everyday life (toll gates, building access, parking barriers), I now understand the technology behind them. This hands-on learning helps me connect classroom knowledge with real-world applications, and shows me how science and engineering solve practical problems.